Pre school programming play: Follow my lead
Why should only us stuffed old buckets be allowed to program? Here's a game setup for preschool kids along with some tips on how to facilitate programming play.

Kids love games of all kinds. Grownups spend a lot of time and energy directing kids and telling them what to do. Follow my lead lets kids play and deliver some payback at the same time! If you've ever played the Roborally board game, you'll know where this is headed.
The concept is simple: a small group of kids (3 to 4 per group) put together a program for moving a robot through a board. Use program cards to form programs. The robot can be a grownup, a member of the group, or even an inanimate object (toy robots, anyone?). Each program sequence should be limited in length, five to seven steps per round. Go through enough rounds to get through the course or see who gets through the course with as few steps as possible. There are many variants that can make this game more advanced, you'll get to see some of them below.
Preparations
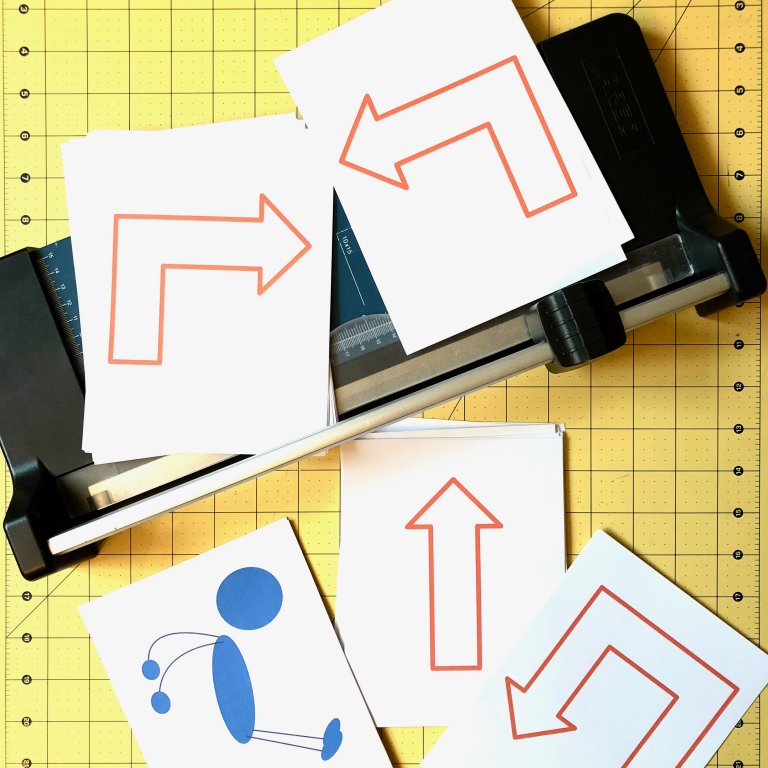
To play Follow my lead you need a board and program cards. Each card shows a robot movement. Make arrow icons yourself or use some ready made ones with a Creative Commons licence (I got mine from https://openclipart.org/). You should at least have cards for Forwards, Turn right and Turn left. U turn and Jump over are also nice to have. If you want to make it more fancy for older kids, include cards like Back up, Forwards 2 steps etc. Each group should have at least 3 turn cards of each type and 4 forwards cards, I also made sure I had at least one Jump card and one U turn for each group.
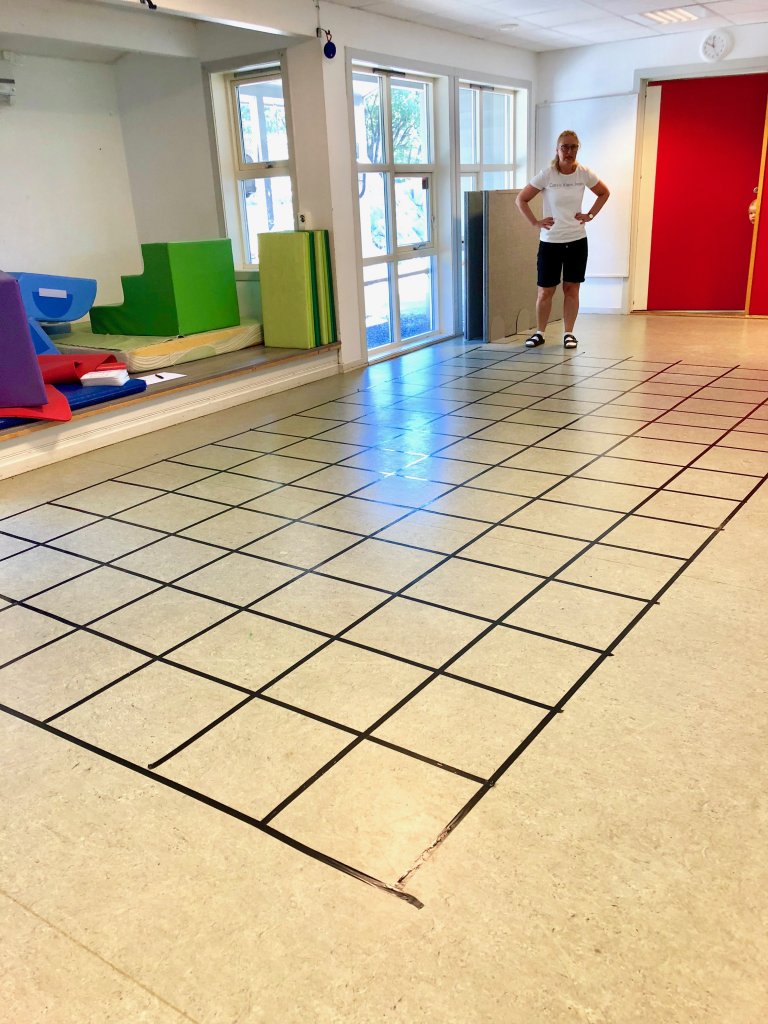
Use colored tape (electrical tape is easy to work with) to mark out the board on the floor. You need a fair sized room to make this work indoors. I made a grid of 15 times 7 squares for three groups of children as I didn't want them to be distracted by each other. Each square should be large enough for your robot to stand in. The squares we made were roughly 40 cm by 40 cm (about 80 metres of tape).
Rules of play
A game consists of several rounds. The goal is to get through a course on the board, or more advanced: to go through a course with as few moves as possible. Decide whether to limit the number of rounds or to let the game run until everyone has finished. Each round has the following steps:
- Draw or choose five cards from the given stack of cards.
- Put together a program from the cards. Once the order is set, you can't go back and change it!
- The robot goes through all five cards in order. The different variants are: move forwards one square, turn 90 degrees right in the square you're standing in(turn right), turn 90 degrees left (turn left), jump over (either jump over a square or over an obstacle to the next free square), backwards one square or U turn (rotate 180 degrees).
Trying it out!
I made a deal with a local kindergarten, and spent a couple of hours there playing Follow my lead with the oldest kids (5 - 6 year olds). To introduce the game I let all the kids program me. I stepped into a square and had them come up with ideas to get me to a door on the other side of the grid (this was before the cards were introduced). They had to figure out which types of movement we would need. This achieves several things at once. First of all, the kids start trusting you and you also remove the fear of interacting with both you and the game board. It's also a nice way to introduce the concept, and you can have one of the other helpers show the programming cards while you act out the different moves. The kids I played with were only 5 years old so I made sure to give short instructions with simple sentences (their attention span is rather short even if they think it's really cool).
After the introduction it was time for the kids to try out the game themselves. We divided them into groups with three or four kids. To get the most out of the game you should have a grownup or a helper for each group. Programming is strict and rule based, and kids as young as five will find it difficult to remember the rules and adhere to them.
The first kid out was directed through the grid to some object right outside (a nearby door or anything else that might catch their fancy). As the kids caught on, I introduced hurdles on the grid so that they would have to be directed around them.
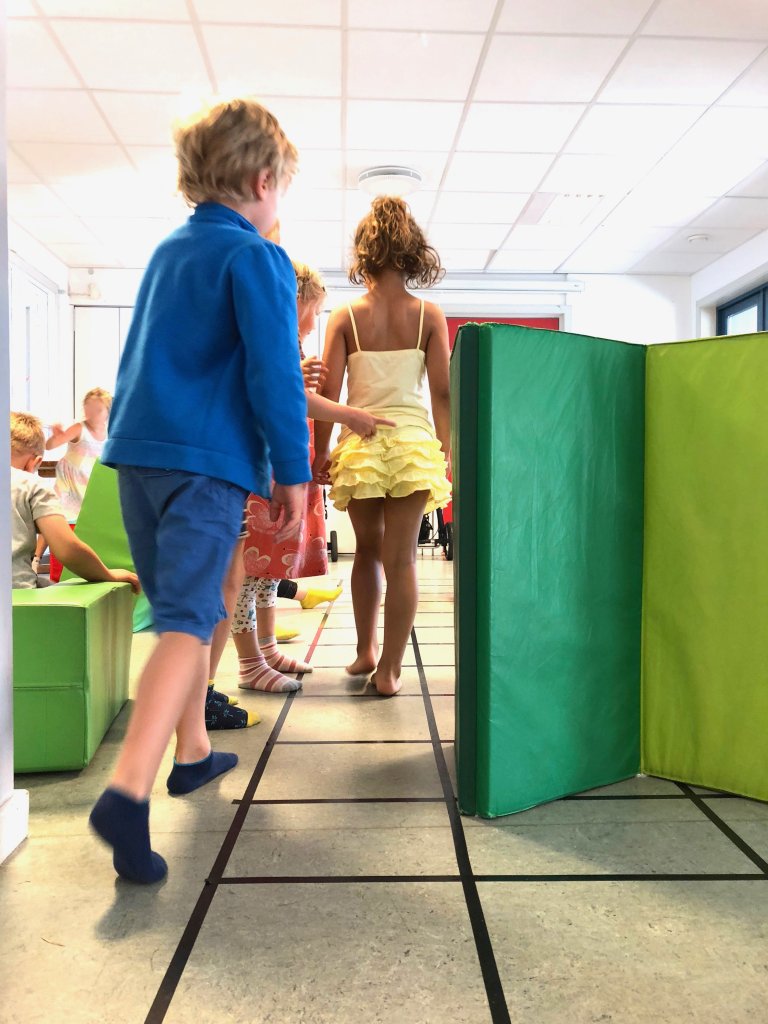
This first task was mostly to let them get used to the robot being directed, and for the rest of the group to get used to directing the robot. Try to get the rest of the group to decide who should give the instructions, otherwise they'll all yell instructions at the same time! At the start of the game I was fairly slack on rules. It's more important for the kids to have fun than to manage to give perfect instructions and perform them.
Expansion sets, tips and tricks
There are many ways to enhance the game. Try it outside! If you're in the woods, bring some thin wire or rope or find branches to make the grid. Draw in the dirt or sand, or use chalk. Put natural barriers in the grid so that they have to move around them. The ground doesn't have to be flat, think how much fun a slide could be! If they've played it before, give them only one type of turn cards, so they have to figure out how to turn left by using only right turns, or give them only backup cards instead of forwards cards. Change the rules so that the forwards becomes backwards, your imagination really is the only limit.
Laminate the programming cards or draw on thin card board. It's easy to get carried away during play. I also made them fairly large so we wouldn't lose them and so they would be easy to handle.
Programming has strict rules and that doesn't always work with young children. Play the game several times and introduce new rules as they get familiar with the game. It'll make it more realistic over time but also keep the game interesting.
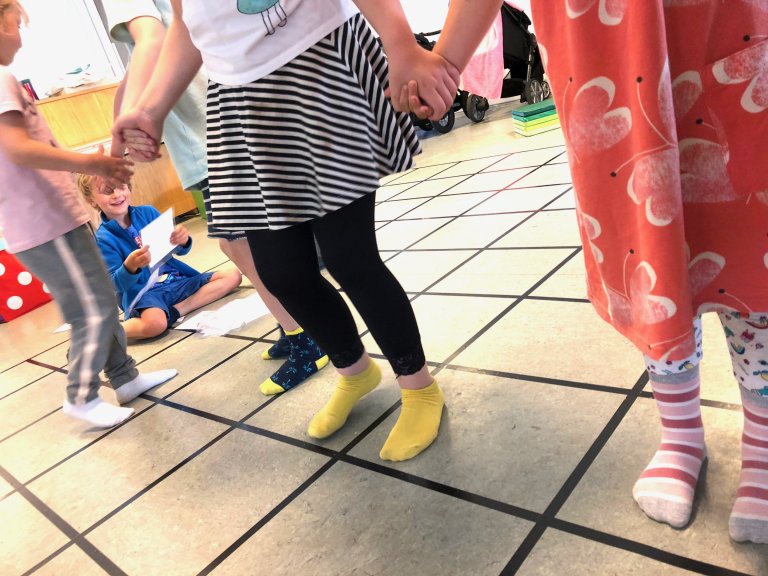
To help the kids remember what each card does, have the children act out each card type together. Maybe you can even program them all for a while and they all get to be robots at the same time? Much hilarity ensued when I tried this at the local kindergarten.
When you program with a group of children, help them remember the rules, for instance that they can only show one card at a time, the robot should only move according to that card, and that only one person should say what the robot should do. Start a discussion about what should happen if the robot does something wrong: do you back up or just leave the robot where it is and continue?
Kids lose interest quickly, sort the programming cards and lay out the grid before the game begins. If they're abit older this can be a part of the game, in particular if you're introducing natural obstacles outside. You can also set up stacks of cards for each group so that you can get started at once.
Need some ideas for expanding the game to older or more experienced children? Let them draw random cards for each round. Introduce if statements, while and for loops! Go left if there are more children on the left side of the grid, use objects the robot can count. This will teach them about group sizes and rule based decisions. Another variant is to have the kids start close to each other and act out the steps on the program at the same time. This will most likely lead to collisions where two kids try to move into the same square at the same time. What happens then? This is a great opportunity to teach them about the consequences of different rules and interacting with your environment.
Hope you'll have fun with some kids, let me know how it went! I'd love feedback on how it worked out for you. Happy programming!