Adding AI to the Raspberry Pi with the Movidius Neural Compute Stick Part 3: Testing out the Raspberry Pi Zero
In previous articles in this series I have shown how to quickly get real time video annotation up and running with Deep Learning, the Movidius NCS and the Raspberry Pi 3 B+.
In this article we will swop the Pi 3 B + for the cheaper and less powerful Pi Zero W. We'll look into how this affects performance, both on the Raspbian Desktop and in Headless mode.

Other articles in this series
Introducing the Raspberry Pi Zero
The Raspberry Pi Zero was originally introduced in November 2015 as a smaller and cheaper version of the Raspberry Pi.
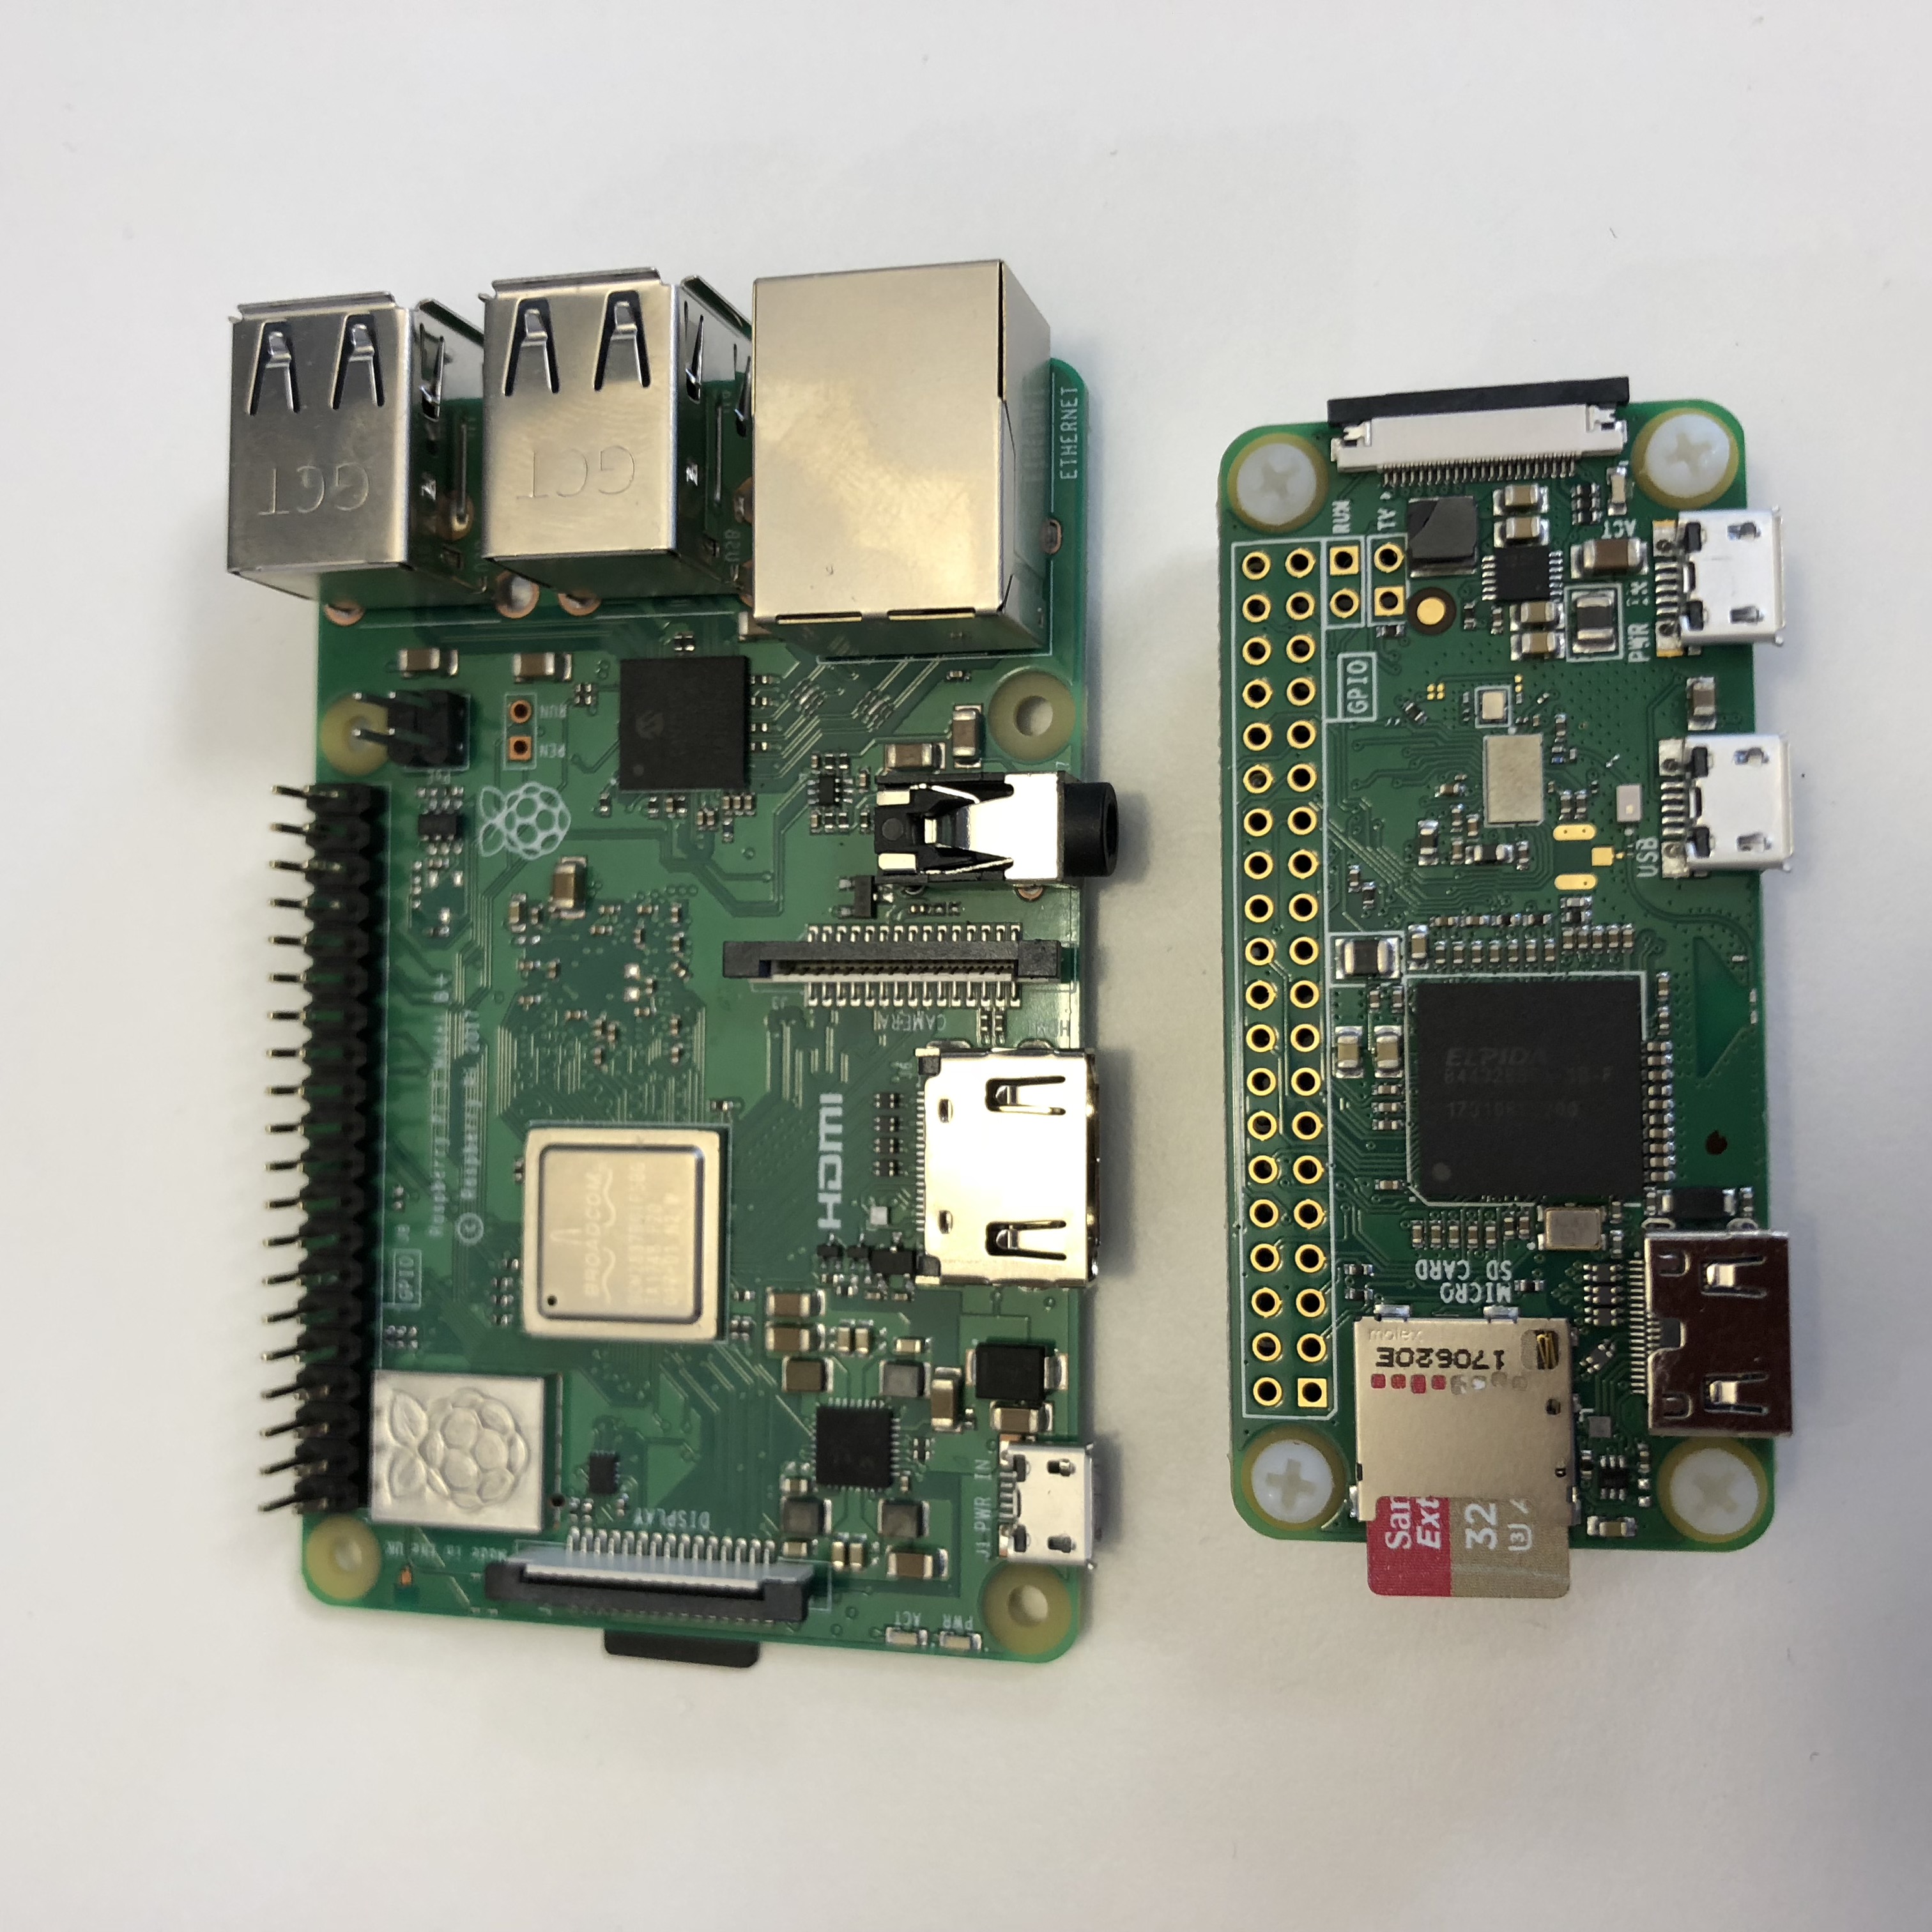
The latest iteration of the Pi Zero - the Pi Zero W - costs around 100 NOK and offers much of the functionality of the more expensive Pi 3 B+:
- Bluetooth & Wi-Fi Connectivity.
- A CSI Camera port for the Pi Camera.
To save space the Pi Zero doesn't have the standard ports (4 x USB, HDMI and CSI) that the Pi 3 B+ does. Instead it offers one mini-USB, a mini HDMI and a mini CSI.
The Pi Zero packs less processing power than it's bigger brother, but shines in projects where it can be run in headless mode (without need for connection to a monitor, keyboard and mouse) or where space is at a premium.
Check out my blog about creating a motion activated security camera with the Pi Zero.
Setting up the Pi Zero W for testing with the Movidius NCS
Setup
The previous articles (part 1 and part 2) in this series explained how to set up a Pi 3 B+ for use with the Movidius NCS (both with the Raspberry Pi Camera and a USB Camera). These same instructions also apply for the Pi Zero W and should be followed in full if you want to replicate the below tests.
Additional Hardware for the Pi Zero
I wanted to replicate my tests with the Pi 3 B+, which required connection to a monitor, keyboard, mouse, Pi Camera and additionally a USB Camera.
The Pi Zero lacks the ports to do this without buying some adapters. Luckily I had the following ones lying around from previous projects:
- HDMI adapter - for connecting the Pi Zero to a display.
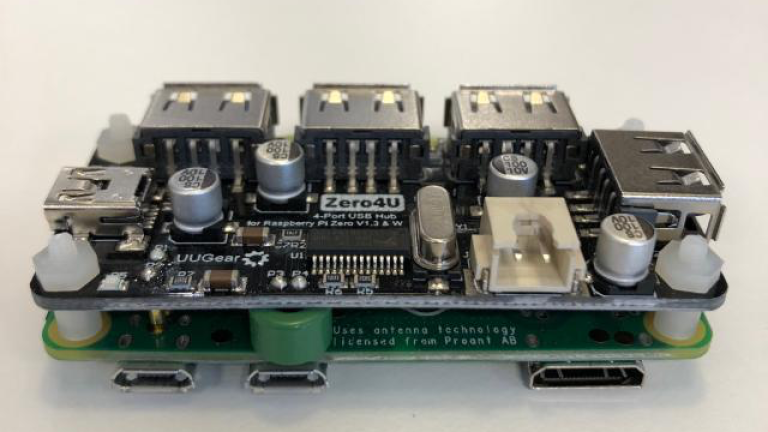
- Zero4U USB hat - provides 4 standard USB ports (used to connect the Web Camera, Mouse, Keyboard and Movidius NCS).
- CSI adapter - for connecting the Pi Zero to a Pi Camera.
Depending on your use case you may choose to run the Pi Zero in headless mode, therefore reducing the need for some of these adapters.
Test Code
In my previous article I created a new version of the the live-object-detector example from the Movidius App Zoo. This example uses a pre-trained Deep Learning Model to find occurrences of 20 specific objects in a live video stream. The video stream is then annotated with the results and displayed on the Raspbian desktop.
My upgraded version added imutils for threading, easy switching between USB and Pi Camera and not least calculating the frames per second of the result.
I used this same code for testing the performance of the Pi Zero. You'll find the code on dropbox. To run it copy the file from Dropbox to the:
~/workspace/ncappzoo/apps/live-object-detector/directory on your Pi Zero. To switch between a Pi Camera and USB Camera use the usePiCamera variable. And to run the code use:
python3 live-object-detector-universal.py
As with the Pi 3 B+, my initial tests were run on the Raspian Desktop with the annotated video stream displayed via OpenCV.
Round One : Initial Results
These two videos show the results from running the Pi Zero with the NCS and the two different cameras.
Pi Zero and USB Camera
Pi Zero and Pi Camera
Tests showed the performance of the Pi Zero to be more or less the same with both cameras, with the Pi Camera having a slight edge on the USB Camera:
- The USB Camera gave a FPS of around 1. This camera gave a lag of around 2 seconds.
- The Pi Camera gave a FPS of around 1.5, with a lag of around 1 second.
Lag is the time between something happening in the real world and that event being shown in the annotated video feed. Lag was not noticeable when using the Pi 3 B+, but was definitely noticeable with the Pi Zero.
As with all my other tests, the Movidius NCS took around 80 milliseconds to process a frame. The bottleneck was clearly the Pi Zero, which had to handle the processing of the video I/O, deserialize the output from the NCS, annotate the frame and finally display the video.
Round Two : Testing in Headless Mode
As I mentioned at the start of this article the Pi Zero really shines in projects where it can be run in headless mode. Headless mode means that the Pi Zero is disconnected from monitor, keyboard, mouse and other peripherals. This saves both power and memory.
Generally when running in headless mode one doesn't use the Raspbian Desktop either, but instead the command prompt. This frees up even more resources.
I disconnected the monitor, mouse and keyboard and rebooted the Pi Zero to the command prompt. With less peripherals to manage, no Raspbian desktop and no video to display maybe my Pi Zero would be able to process more frames per second.
Note that my Pi Zero was still annotating the frames, even though it wasn't displaying them. This is because I'm thinking of building a solution with the Pi Zero in headless mode, where annotated frames with a person in them are kept for further processing.
I used SSH to connect to my Pi Zero and re-ran my tests:
- The USB Camera had a minor boost in performance to around 1.5 FPS.
- The Pi Camera had a slightly bigger boost - to around 2.5 FPS.
Slight improvements here, but nothing to shout about!
Summarized Results
Here are the summarized results from the tests I have performed in this article and the previous one.
| Pi Camera (threaded) | USB Camera | |
| Pi 3 B+ | 4.2 FPS | 4.48 FPS |
| Pi Zero | 1.5 FPS | 1 FPS |
| Pi Zero (headless) | 2.5 FPS | 1.5 FPS |
In all of my tests I had a maximum of 3 objects in frame at any time. Be aware that the FPS will be impacted by the amount of objects the Deep Learning Model finds in each image. More objects = more annotation and therefore more processing.
One way to address this is to reduce the amount of objects the Pi Zero needs to annotate in the real time video. This can be done by either raising the confidence threshold (currently set to 60% in the code) or by ignoring objects that are not of interest.
Final Thoughts and Conclusion
I've had a lot of fun over the last couple of weeks playing around with the Movidius NCS and different combinations of Raspberry Pis and Cameras!
My first take-away was that the Movidius NCS is pretty powerful for such a small device. With the Deep Learning Model I used it managed to process a single image in 80 milliseconds. A rough calculation indicates that the NCS could in theory process up to 12.5 frames a second.
The bottleneck in my tests has always been the Raspberry Pi. I've managed to squeeze up to 5 Frames per Second out of the Pi 3 B+, whereas the cheaper Raspberry Pi Zero maxed out at 2.5 FPS after I switched to running headless mode.
Could I further tune things to squeeze even more performance out of the Raspberry Pi? Of course, but at this stage I'd argue that the improvements would be negligible.
Finally, if you are thinking of using the Movidius NCS in your Raspberry Pi project, then I'd run through the following questions when considering what setup you should go for:
- How many FPS do you need?
- Can you use someone else's Deep Learning Model - or do you need to create your own?
- Is your Deep Learning Model type supported the NCS?
- Can your use case run in headless mode?
- Do you need to connect USB devices to your Pi?
- What do you want to do with the annotated images when they are finished? Remember that further processing (uploading to AWS, emailing the image, saving to disc and so on) will also place a load on the Pi.
- If you are planning on having multiple cameras, do you really need a Movidius NCS for each one? In theory a single NCS could handle 10 cameras sending it one frame each second.
- Are you willing to wait for Googles Edge TPU Accelerator?
As always, please use the comments section below to ask questions. You can also find me on Twitter under the handle @markawest.