Hands-on with the Google Coral USB Accelerator
Google's Coral USB Accelerator greatly speeds up the processing of Deep Learning models. In this article I'll introduce the Coral USB Accelerator and show how to combine it with the Raspberry Pi 3B+ and TensorFlow Lite to implement real time object detection and video annotation!

Background
A key challenge for the Internet of Things is enabling Edge Devices to exploit Artificial Intelligence (AI). That Edge Devices often lack processing power further complicates this issue.
One solution to this problem is to have Edge Devices delegate AI to Cloud based services, but this then raises the issues of privacy and latency, in addition to requiring internet access.
An alternative is the use of co-processers such as the Movidius NCS v1 and most recently the Coral USB Accelerator. Such co-processers plug into your Edge Device (such as a Raspberry Pi) and take care of the AI processing. No need for uploading data to the Cloud!
The Coral USB Accelerator
The Coral USB Accelerator was originally announced in the summer of 2018. After a slight delay it was quietly launched in March 2019. I ordered a couple straight away, at a cost of $75 per unit. After a couple of weeks they arrived.
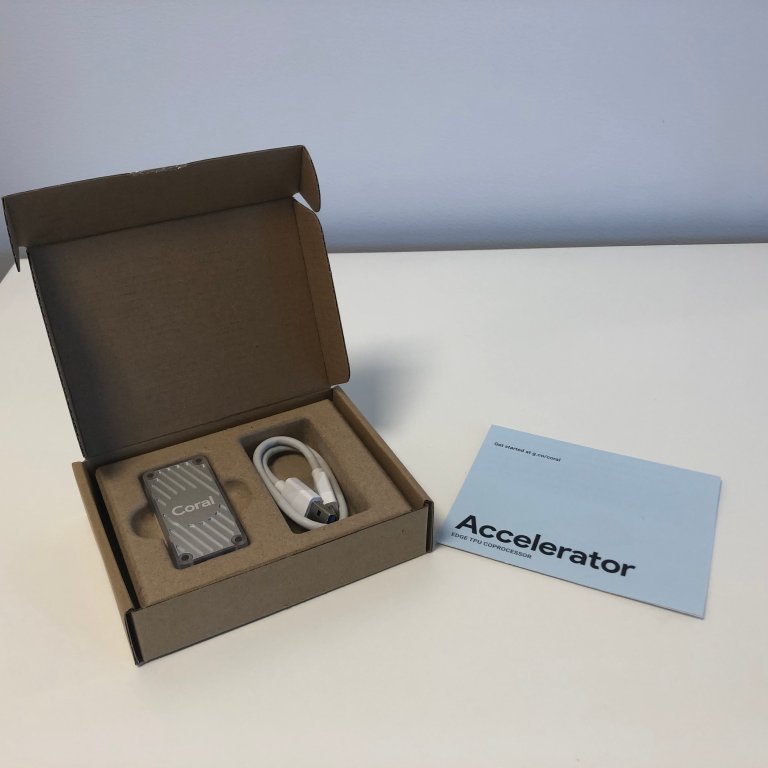
The Coral USB Accelerator's dimensions are 65mm x 30mm x 8mm, making it slightly smaller than the Movidius NCS v1. On the hardware side it contains an Edge TensorFlow Processing Unit (TPU) which provides fast Deep Learning inferencing with low power consumption.
Currently the Coral USB Accelerator works only with Linux Debian derivatives, such as Raspbian and Ubuntu. It performs best when connected to devices with a USB 3.0 port, so it will perform slower when connected to the Raspberry Pi's USB 2.0 ports.
In addition to the Coral USB Accelerator Google have also launched (at the time of writing):
- Coral Dev Board: A single board computer containing an Edge TPU Processer. Used for prototyping new projects requiring fast on-device inferencing.
- Coral Camera: A Camera specifically for use with the Coral Dev Board. Similar to the Raspberry Pi Camera Module. No Edge TPU processer.
Note that the entire Coral "range" is in Beta. This can mean big changes over the next few months.
Setting up the Coral USB Accelerator
Setting up the Coral USB Accelerator was pain free. I simply flashed a new SD Card with the latest edition of Raspbian, switched on my Raspberry Pi 3B+ and then followed Google's installation Guide. Within 30 minutes I was running some demos!
The software included with the Coral USB Accelerator includes APIs and demos for:
- Image Classification: For a given image/video returns a list of labels and confidence scores.
- Object Detection: For a given image returns a list of objects found, each with a label, a confidence score and the coordinates of the object.
- Transfer Learning: Allows for retraining of classification models on the Edge TPU.
In addition you can download a set of pre-trained TensorFlow Lite models ready for use with the Coral USB Accelerator.
Support for TensorFlow Lite
One of the first things I found out was that the Coral USB Accelerator currently only supports quantized TensorFlow Lite models with the following architectures:
- MobileNet V1/V2: 224x224 max input size; 1.0 max depth multiplier
- MobileNet SSD V1/V2: 320x320 max input size; 1.0 max depth multiplier
- Inception V1/V2: 224x224 fixed input size
- Inception V3/V4: 299x299 fixed input size
If you have a pre-existing model that supports one of these architectures then you can use the Egde TPU Model Compiler to compile it for use with the Coral USB Accelerator. This only takes a minute or so.
The plan is to allow for more architectures, but at the time of writing there is no timeline for when this will be done.
Real Time Object Detection and Video Annotation
Project Outline
My first project for the Coral USB Accelerator was to use a TensorFlow model to find objects in a Raspberry Pi video stream. I would then annotate the video stream showing which objects had been found, along with the confidence score for each object.
This would require me to process each frame of video as follows:
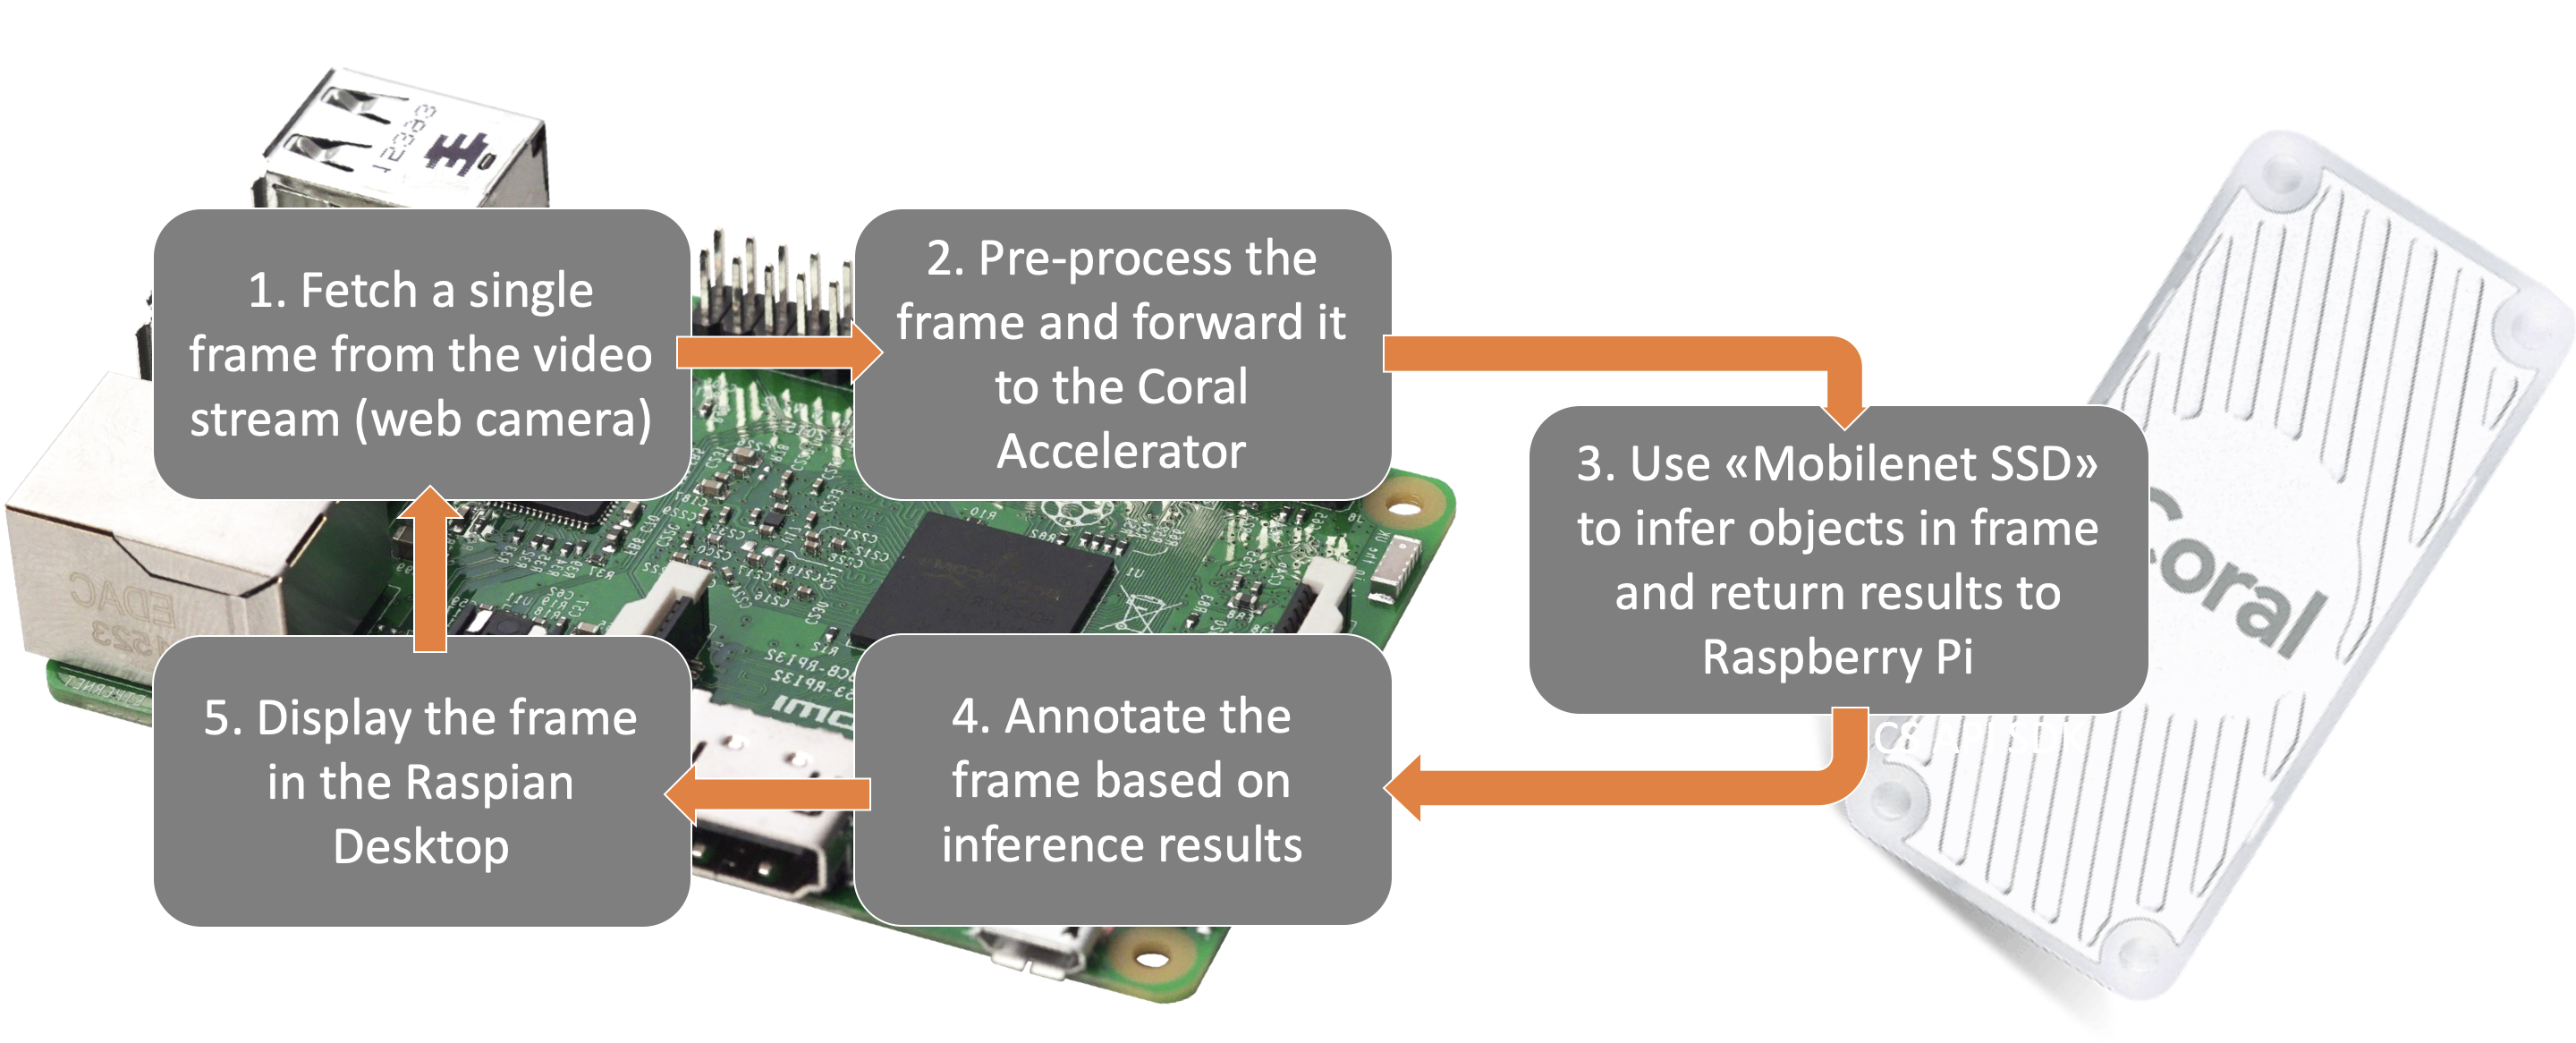
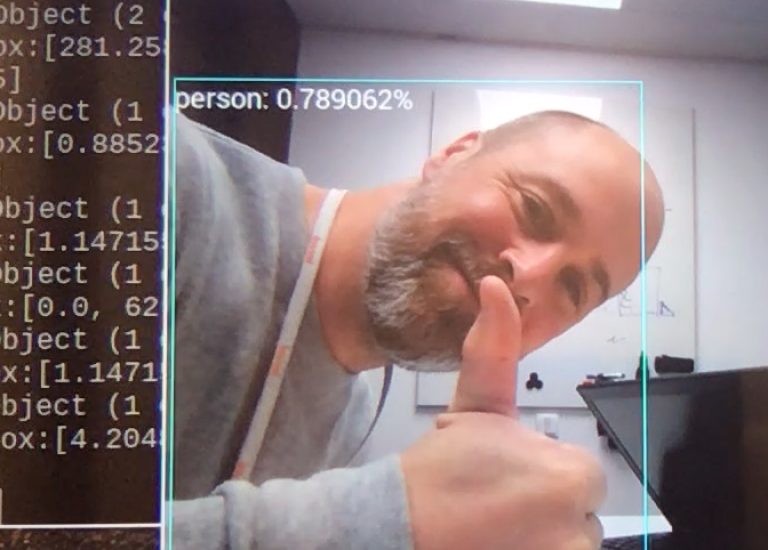
The result of this project was as follows:
Demo with a USB Camera
Here you are seeing real time annotated video at a frame rate of 10 frames per second on the Raspberry Pi!
Read on to find out how you can reproduce this!
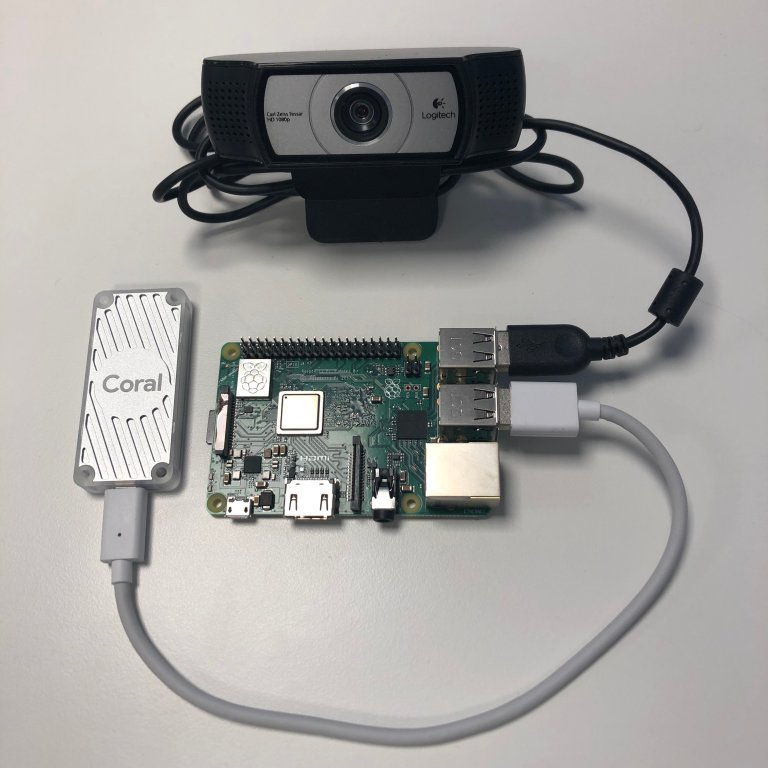
Hardware
Here is the setup that I used.
- USB Camera (also tested with Raspberry Pi Camera Module)
- Raspberry Pi 3B+
- Coral USB Accelerator
- 16 GB SD Card (8 GB would probably be fine)
- Raspberry Pi Power Supply
Note that both the Raspberry Pi Camera Module and the USB Camera delivered comparable performance. For comparisons sake, here is a demo with the Raspberry Pi Camera Module performing the image capture:
Demo with Raspberry Pi Camera Module
Software Setup
In addition to installing the standard software for the Coral USB Accelerator you'll need to go through the following steps.
-------
EDIT 13 April 2019: Note that Google are actively developing the Coral Software. This may mean that some of the paths and API's listed below have changed.
-------
1. Update Raspian
sudo apt-get update
sudo apt-get dist-upgrade
2. Install OpenCV
My solution uses OpenCV for image processing. Here is a receipe for quickly instaling OpenCV on a Raspberry Pi. It's an old version of OpenCV but it works fine.
sudo apt-get install python-opencv
sudo pip3 install opencv-python==3.3.0.10
sudo apt-get install libjasper-dev
sudo apt-get install libqtgui4
sudo apt-get install libqt4-test
sudo apt-get install libatlas-base-dev
sudo apt-get install libcblas-dev
3. Install imutils
Adrian Rosebrock's awesome imutils utility gives me the ability to switch between USB and Pi Camera video streams without any hassle.
sudo pip3 install imutils
4. Update Pi Camera Module Software
If you are using the Pi Camera Module, ensure that your PiCamera software is up to date (and don't forget to enable the camera in raspi-config).
sudo apt-get install python3-picamera
sudo pip3 install "picamera[array]"
5. Download Model and Labels files
For my project I am using the MobileNet SSD v2 (COCO) pre-trained model. It is trained on 90 different objects from the COCO Dataset. We'll also require the Labels file to map the output from our model against a specific object name. We'll download these to Raspbian's "Downloads" directory.
cd ~/Downloads/
wget storage.googleapis.com/cloud-iot-edge-pretrained-models/canned_models/coco_labels.txt
6. Download and run code
Use the following link to download my code, again to Raspbian's "Downloads" directory.:
cd ~/Downloads/
wget www.dropbox.com/s/i8mdgys2wav7ooa/coral-live-object-detector-v2.py
Now you are ready to run the code. From the Raspbian Desktop, open a terminal window, navigate to the Raspbian's "Downloads" directory and run:
python3 coral-live-object-detector-v2.py
Apend the following flags to this command where necessary:
- --model: Absolute path to the TensorFlow Lite model file (if different to that specified over).
- --labels: Absolute path to the Labels file (if different to that specified over).
- --maxobjects: Maximum objects to infer in each frame of video. Defaults to 3. The more objects, the bigger the hit on performance.
- --confidence: Minimum confidence threshold to tag objects. Defaults to 60%.
- --picamera: Use PiCamera for image capture. If this flag is not used then a USB Camera will be expected.
To stop the process press the "q" button while mousing over the annotated video. This will allow the process to end gracefully.
Note that this code is provided as-is and is only meant to demonstrate the Coral USB Accelerator. But it wouldn't take much to add some kind of warning when a person is detected, making it easy to enhance this demo to be a fully fledged security camera.....
Evaluation and Final Thoughts
So far I am very impressed with the Coral USB Accelerator! Compared to the Movidius NCS v1 it was very easy to get started with and I had my "Real Time Object Detection and Video Annotation" project up and running in just a few hours.
Performance wise I found that the Coral USB Accelerator performed much better than that Movidius NCS v1 for the specific use case described in this article, clocking in at up to 10 Frames Per Second (Movidius managed 5 FPS). Note that I was running the Coral USB Accelerator at it's maximum operating frequency, but didn't notice any overheating of the unit.
My next step will be to try out my "Real Time Object Detection and Video Annotation" project on the Raspberry Pi Zero W. If I get this working then I will share my experiences in a new article.
-------
EDIT 13 April 2019: Trying to install Coral USB support on the PiZero resulting in the following message.

This is disappointing, but hopefully PiZero support will come soon. I'll write a new blog if and when that happens.
-------
Questions? Comments? Feel free to contact me on Twitter under the handle @markawest.
Thanks for reading!!
Mark West leads the Data Science team at Bouvet Oslo. In his spare time, he also leads the Norwegian Java User Group.
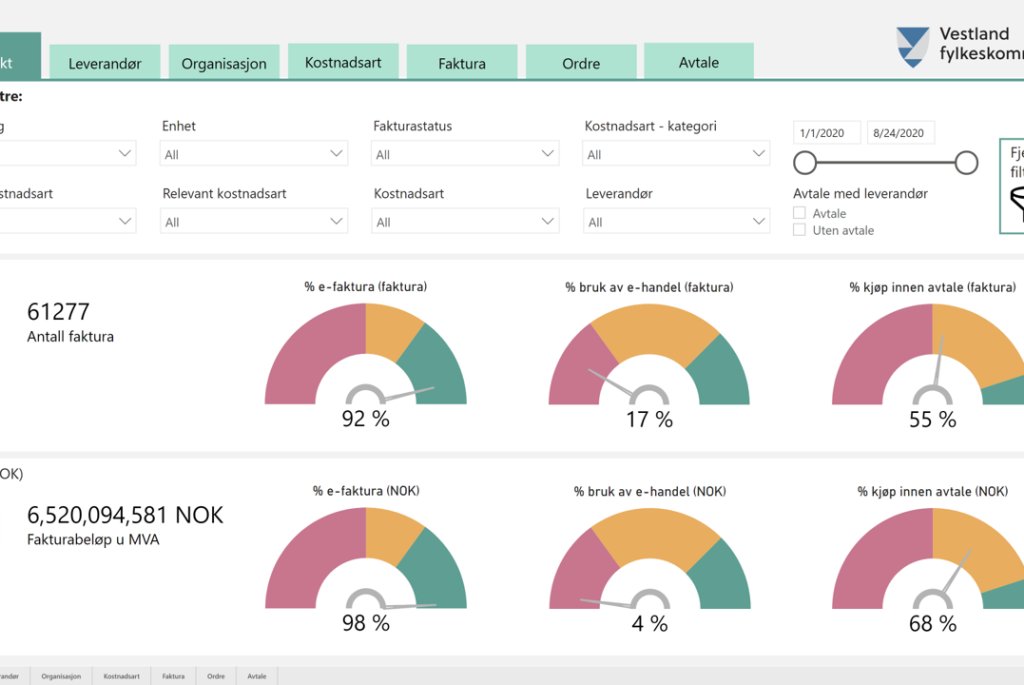
Vestland fylkeskommune
Utvikling av Power BI-rapport for innkjøpsseksjonen i Vestland fylkeskommune

Bybanen
Smart prediksjon av isdannelse gir tryggere drift av Bybanen i Bergen
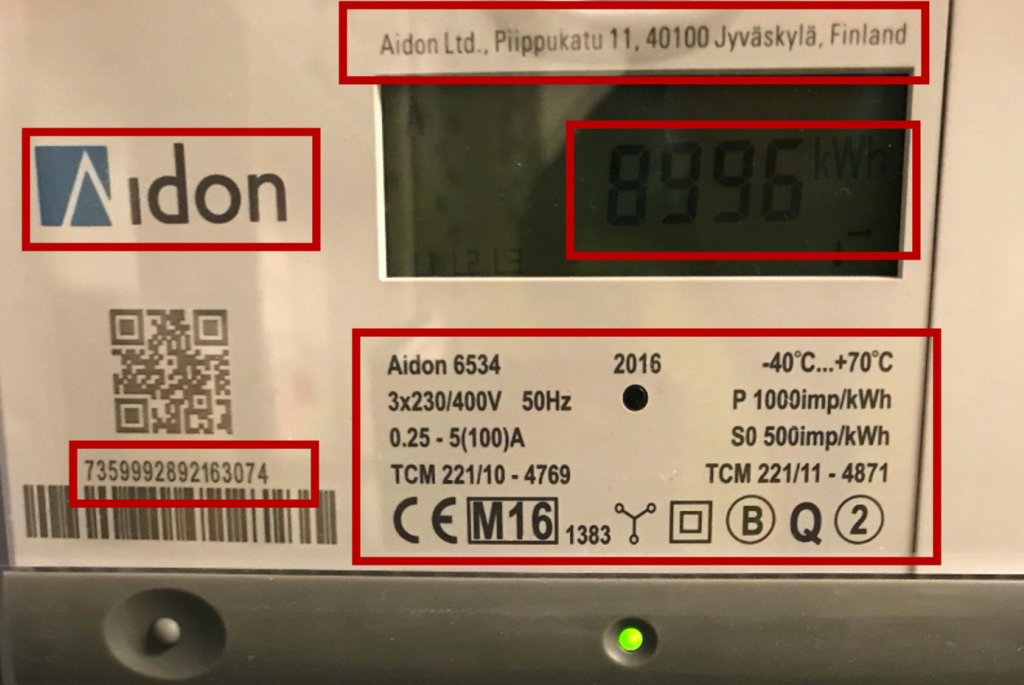
Elvia
Bildeanalyse og maskinlæring for mer effektive arbeidsprosesser
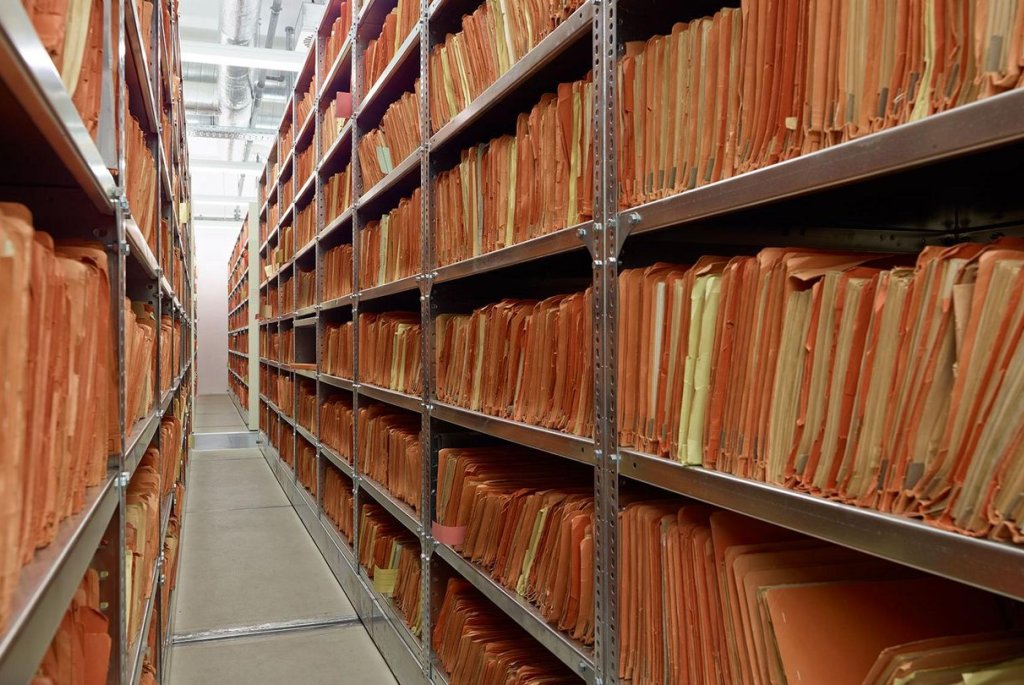
Arkivverket
Kunstig intelligens for ekstrahering av metadata fra dokumenter

Statens Vegvesen
Takting: Smart flåtestyring gjennom flaskehalser i veinettet

Agder Energi Nett